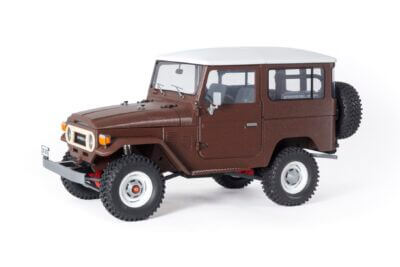
Product details
Easy to Assemble
To build the model you only need some basic tools such as a screwdriver, a sharp knife, soldering iron and most importantly – a good mood.
Cheap and fast repairs
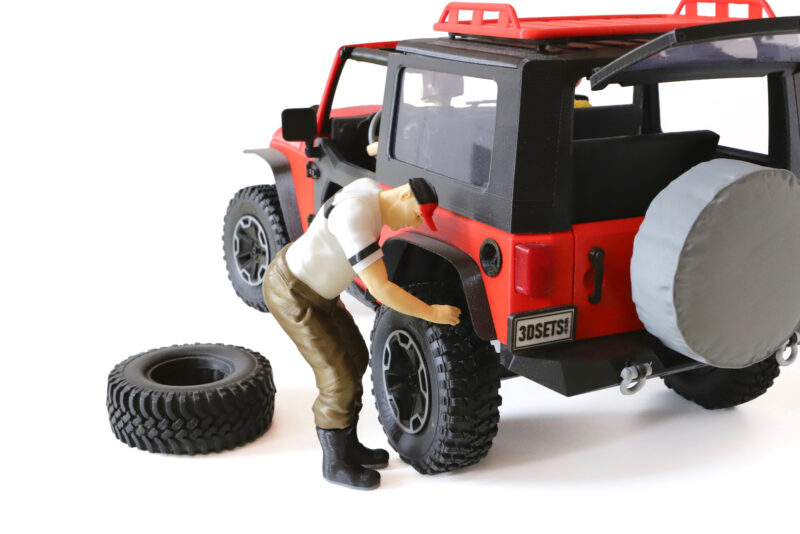
Did you break something? Don’t worry, you’ll have a reprinted spare part in no time. Then loosen a few screws and replace the damaged parts. And – drive again immediately!
3d print maximum, buy minimum
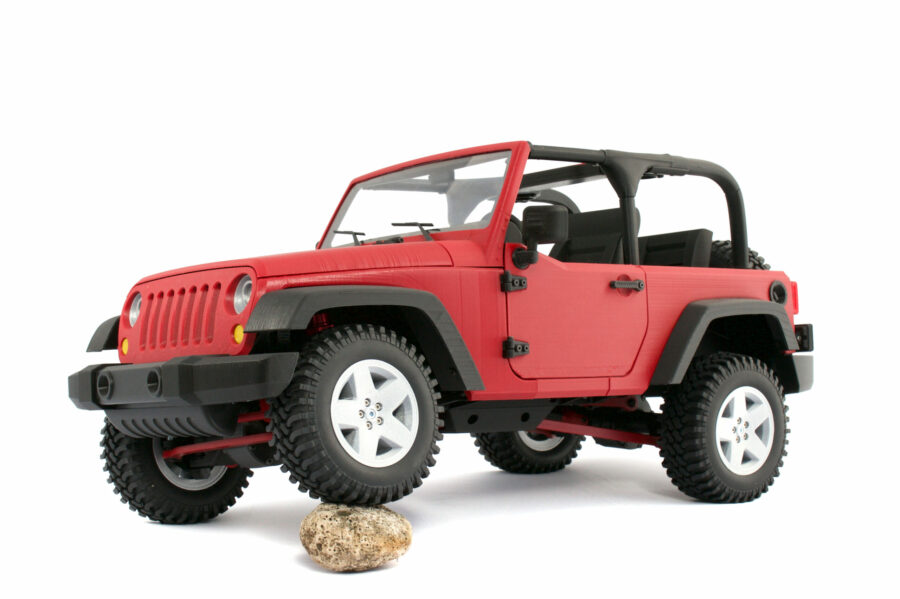
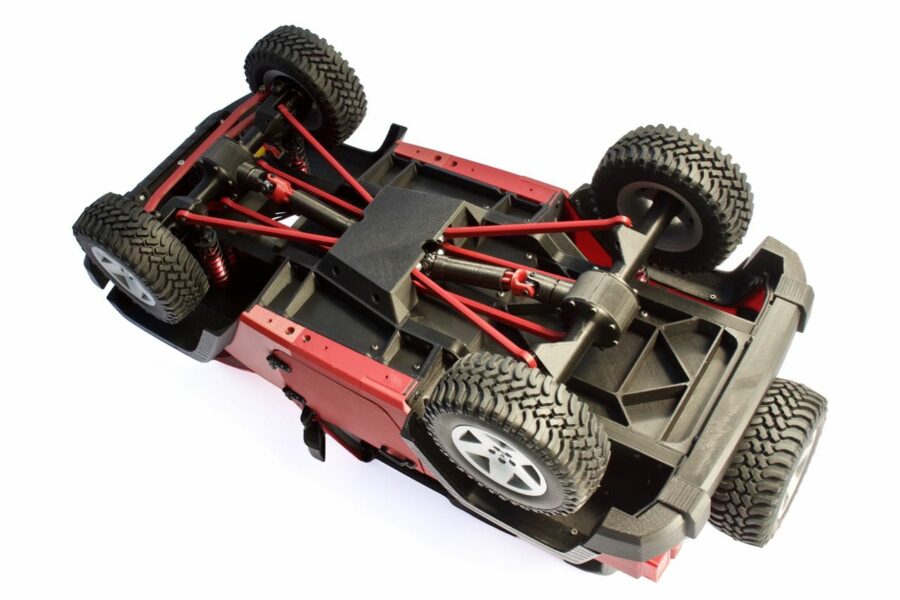
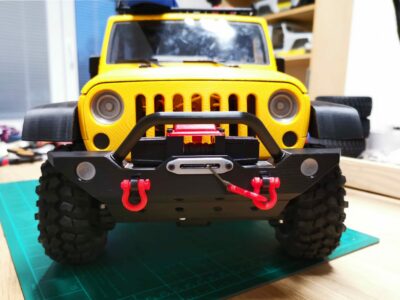
“Don’t buy parts – just print them, nearly all!” You print most parts starting with bodywork, complete chassis and even cardan joints and gearbox. Buy just motor, radio control electronics, tires and shocks/springs – and you are ready for ride.
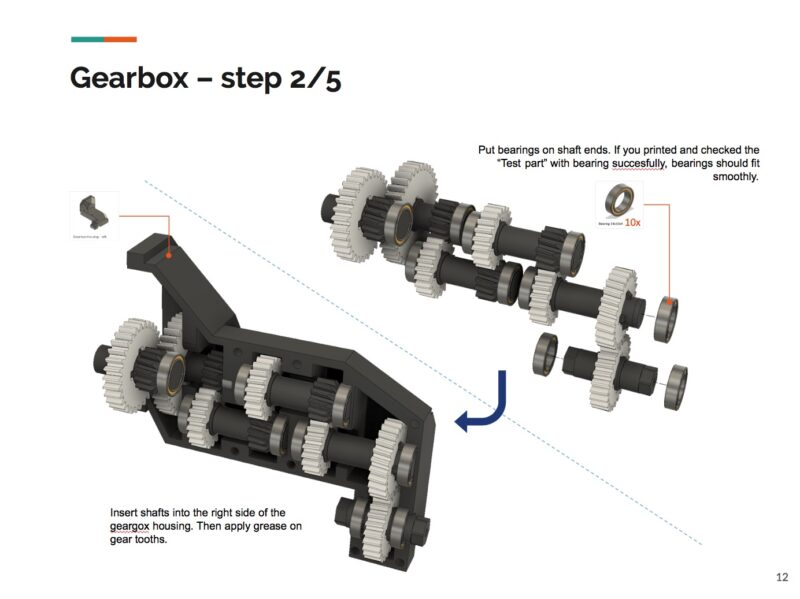
Step-by-step User Guide
Comprehensive Build Guide is available for free to anyone – lets go through before you buy the model. Build Guide include a complete bill of materials and links for online stores, when you can purchase non-printable parts.
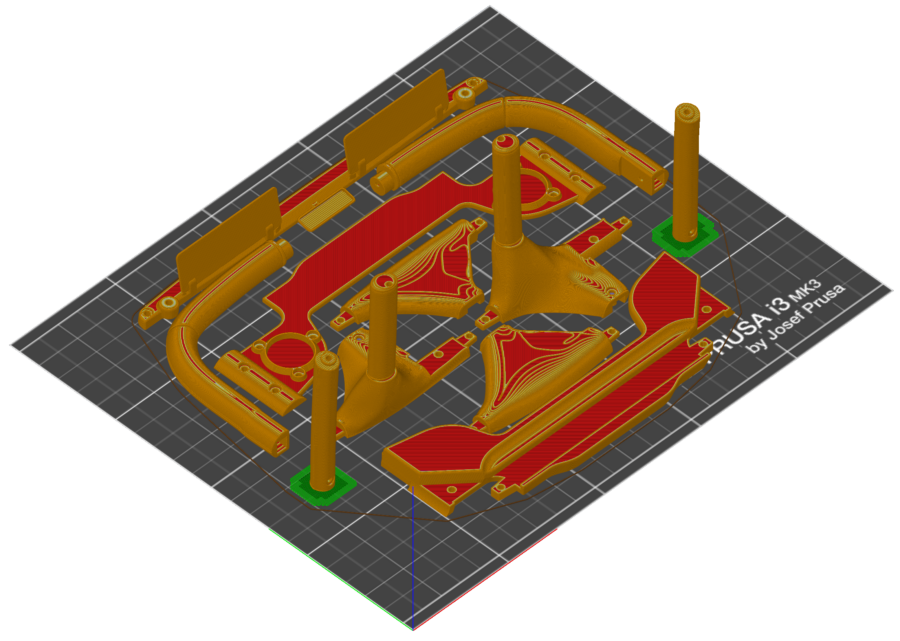
“Build when you print” – you get not only the ready-made print plates but also the time-effective print sequence, so you can continue assembling while you printing and do not need to wait for the part you need.
Build Guide available here
List of non-printable parts is here
What 3d print data I will get?
You don’t get the usual clutter of .stl parts, we prepared:
- gcodes compatible with Original Prusa MK3 printers
- printing assemblies in .3mf files (can be opened in Prusa Slicer, Cura, Simplify 3D)
- standalone parts in .stl files
If you have Original Prusa MK3, you can print right from the gcodes, if you have another printer, just load .3mf files in slicing software and generate you own gcode. Or make put together parts you wish using common .stl files.
What you will need:
- any 20 x 20 cm 3D printer, Prusa i3 recommended
- 2,75 kg of filament needed for all parts, PLA or PET. Preferably 2 kg of black and 0,75 of any color (body of the car)
- bring your own motor/speed controller, servo and battery
- basic soldering equipment
- screws and nuts
- set of bearings
- set of rubber tires and shocks
